Christmas Lash Set
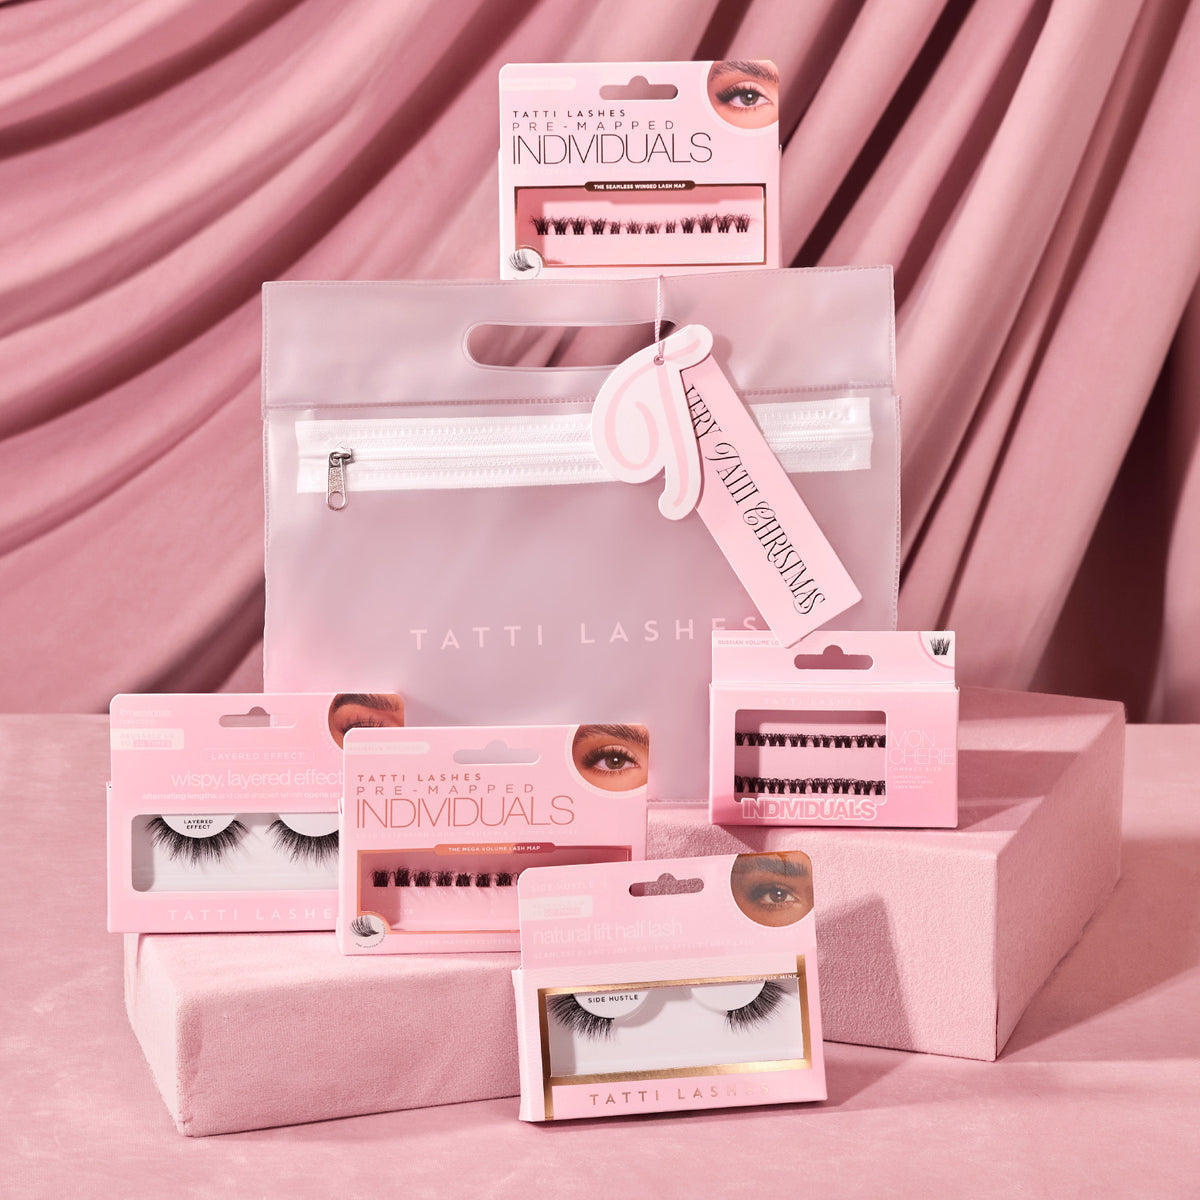
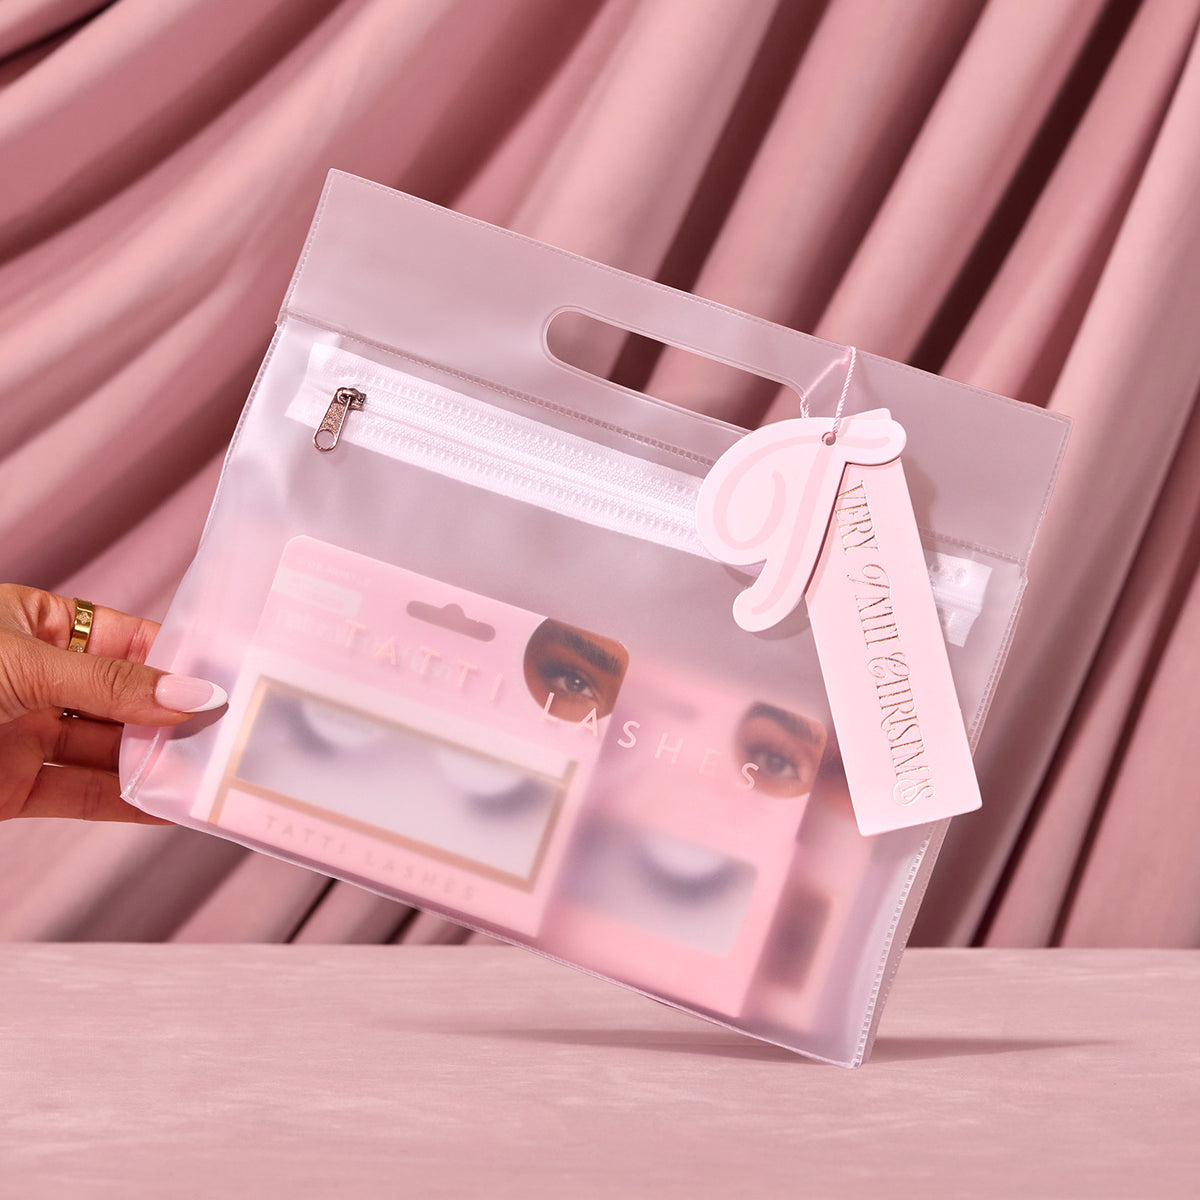
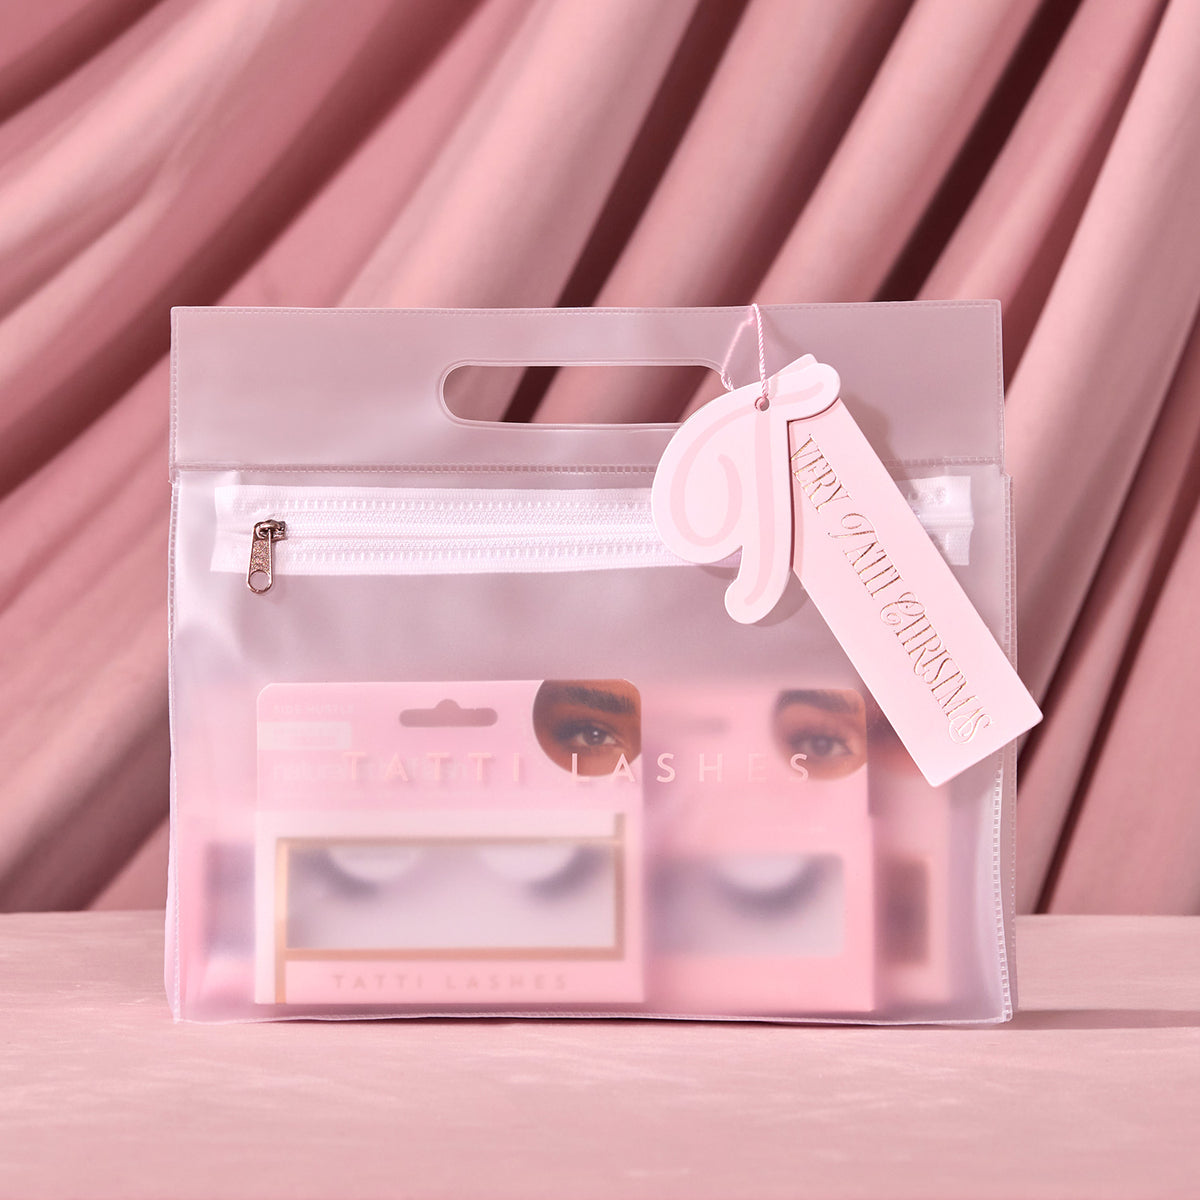
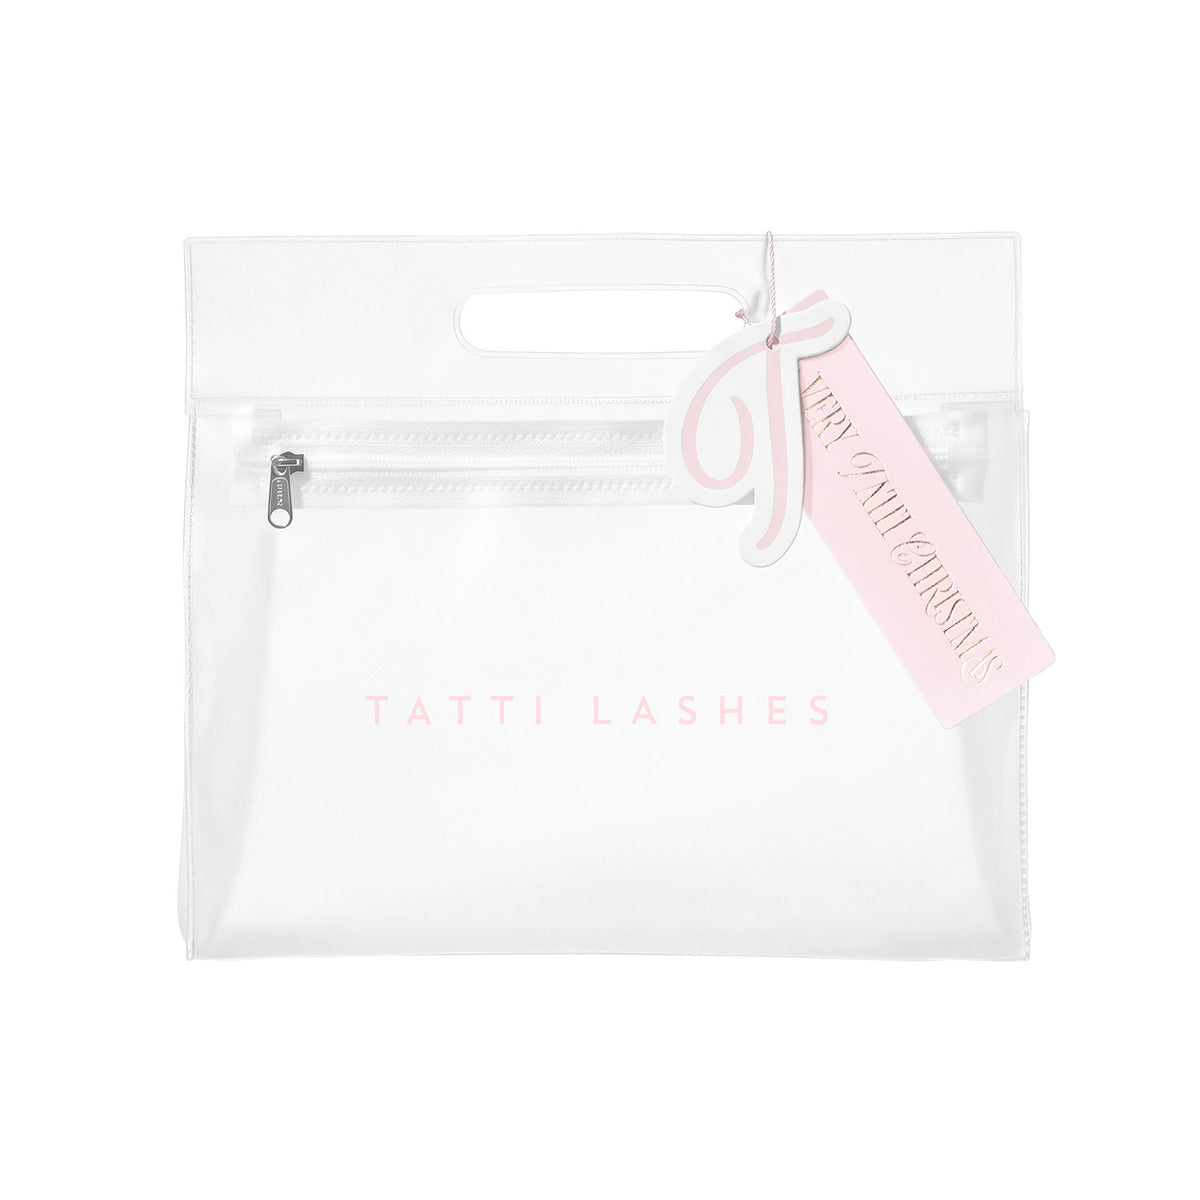
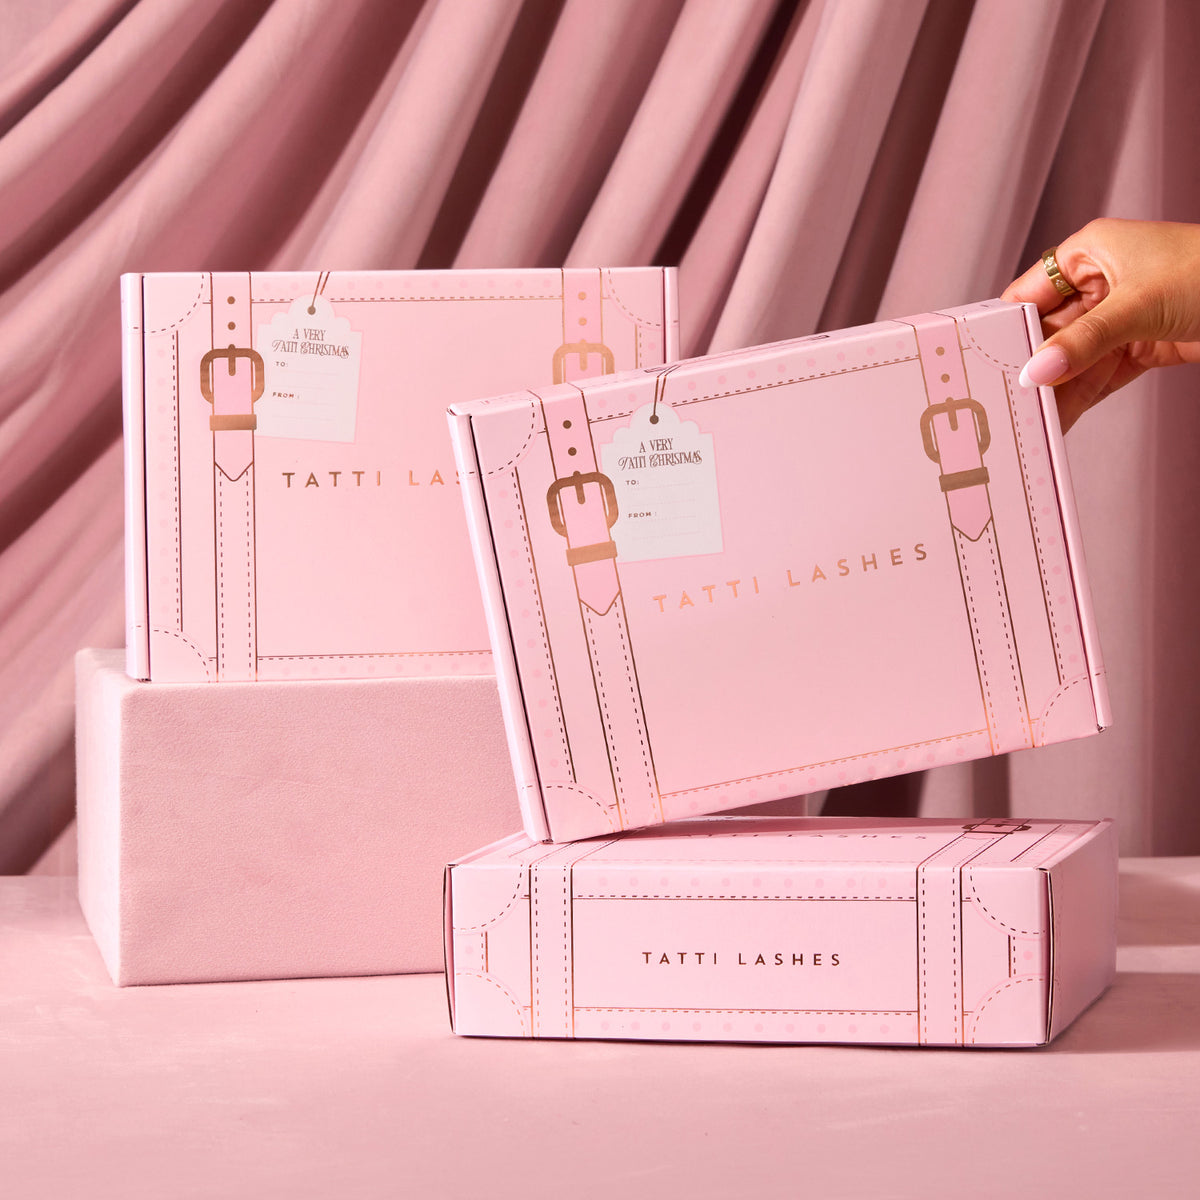
Give the gift of glam lashes this festive season with The Christmas Lash Set, a curated collection of Tatti Lashes favourites designed to create a variety of stunning looks. Beautifully presented in a reusable cosmetic bag, this limited-edition set offers exceptional value and everything needed to elevate any makeup routine. Worth £34.75.
 Limited Edition
Give the gift of glam lashes this festive season with The Christmas Lash Set, a curated collection of Tatti Lashes favourites designed to create a variety of stunning looks. Beautifully presented in a reusable cosmetic bag, this limited-edition set offers exceptional value and everything needed to elevate any makeup routine. Worth £34.75.
Whether creating soft everyday looks or full-on festive glam, this collection includes a versatile selection of best-selling individual cluster and strip lash styles. Perfect for discovering your perfect party season glam lash.
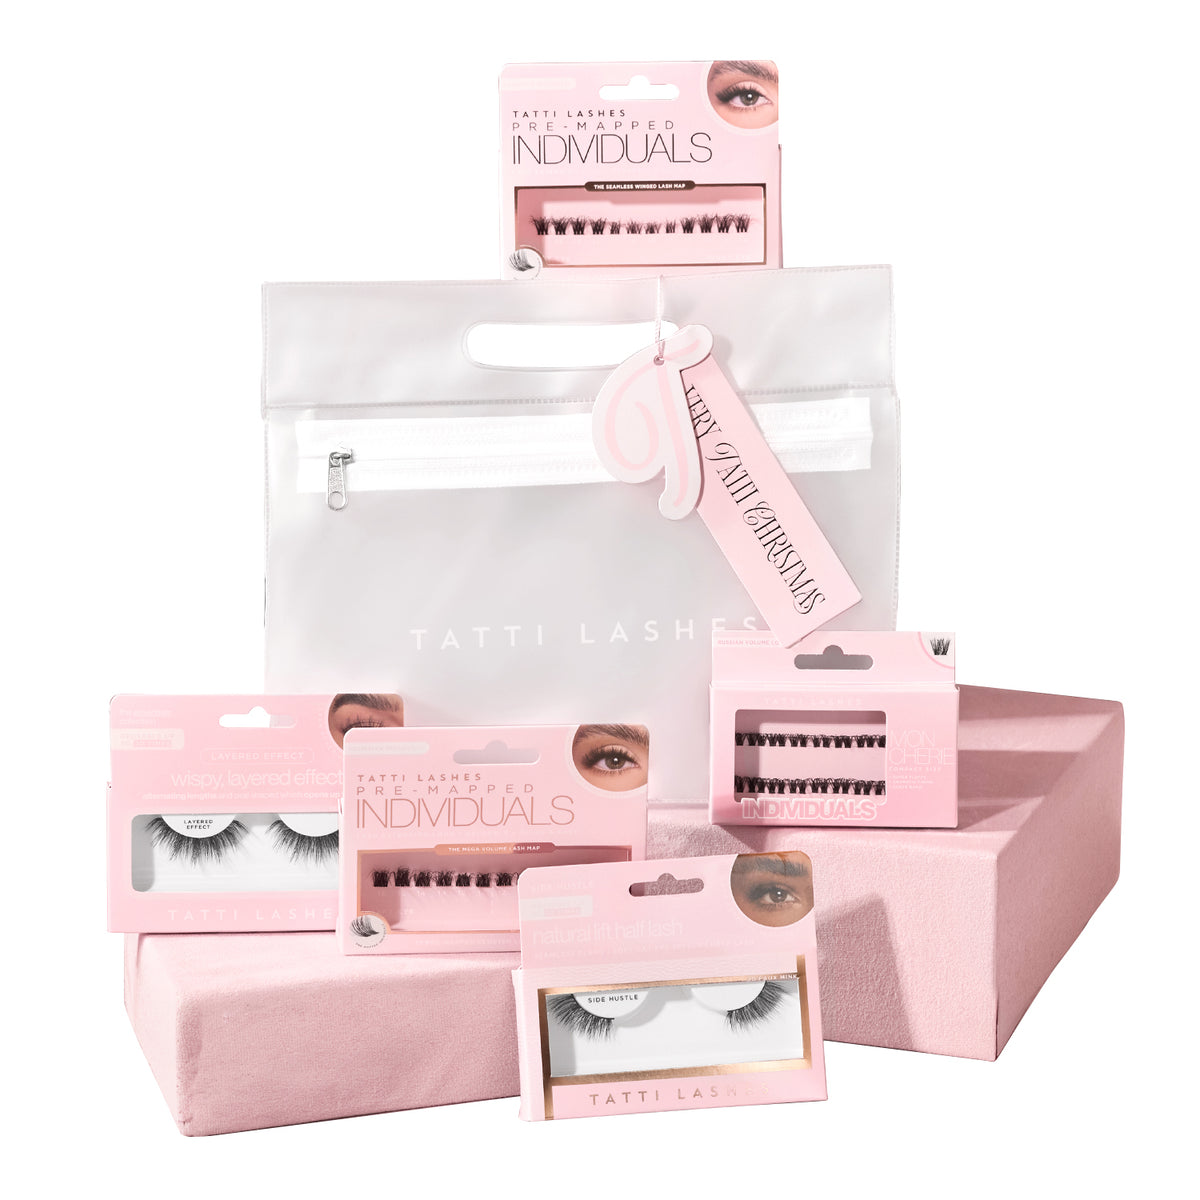
Includes:
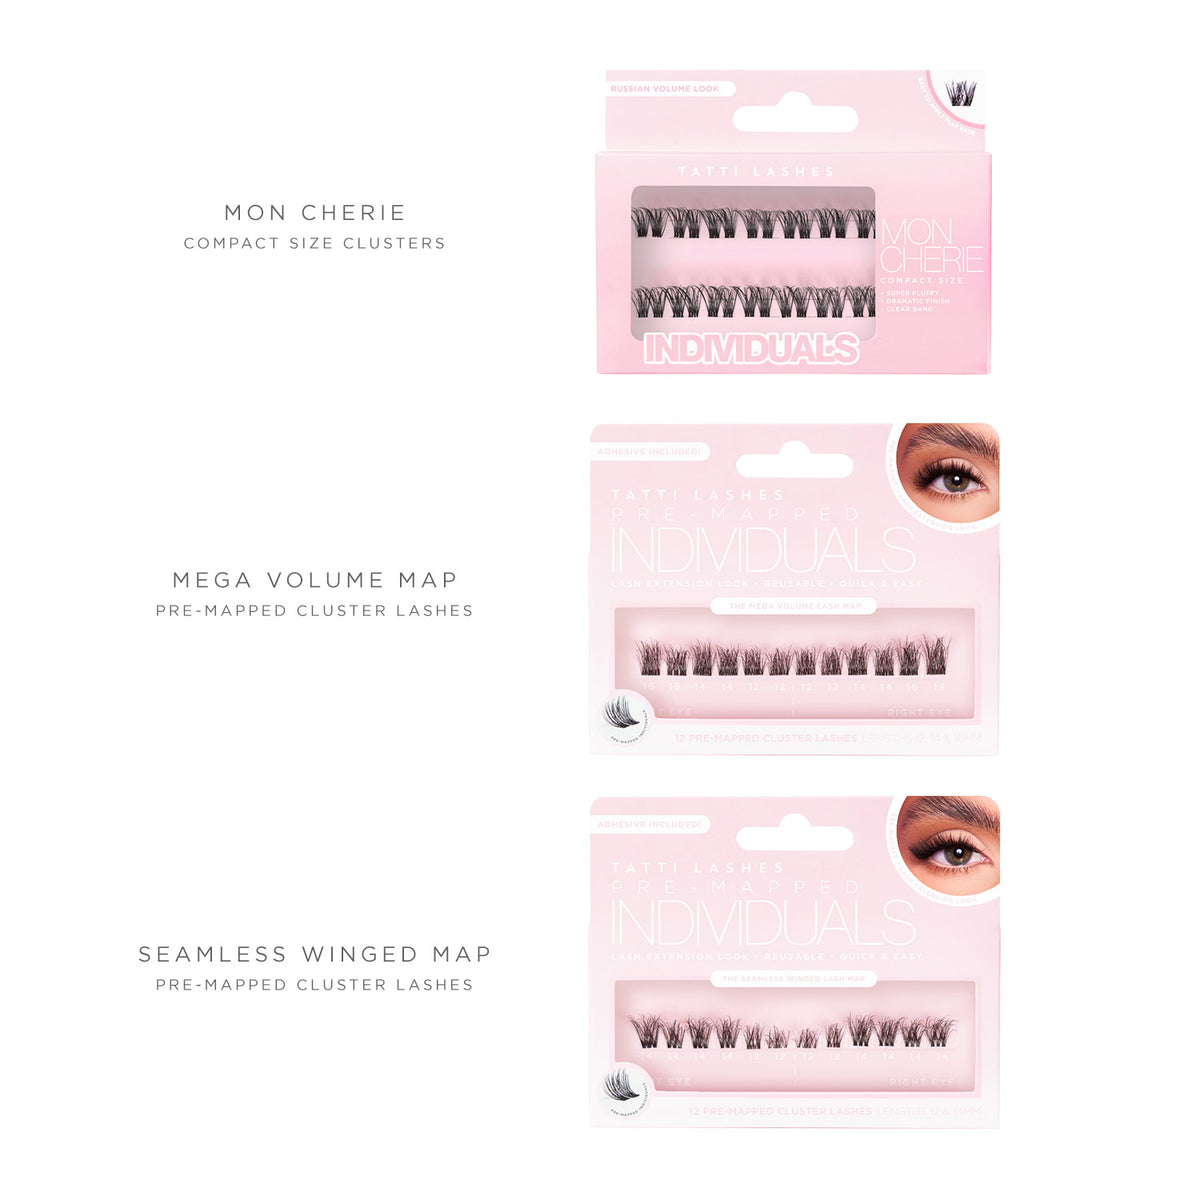
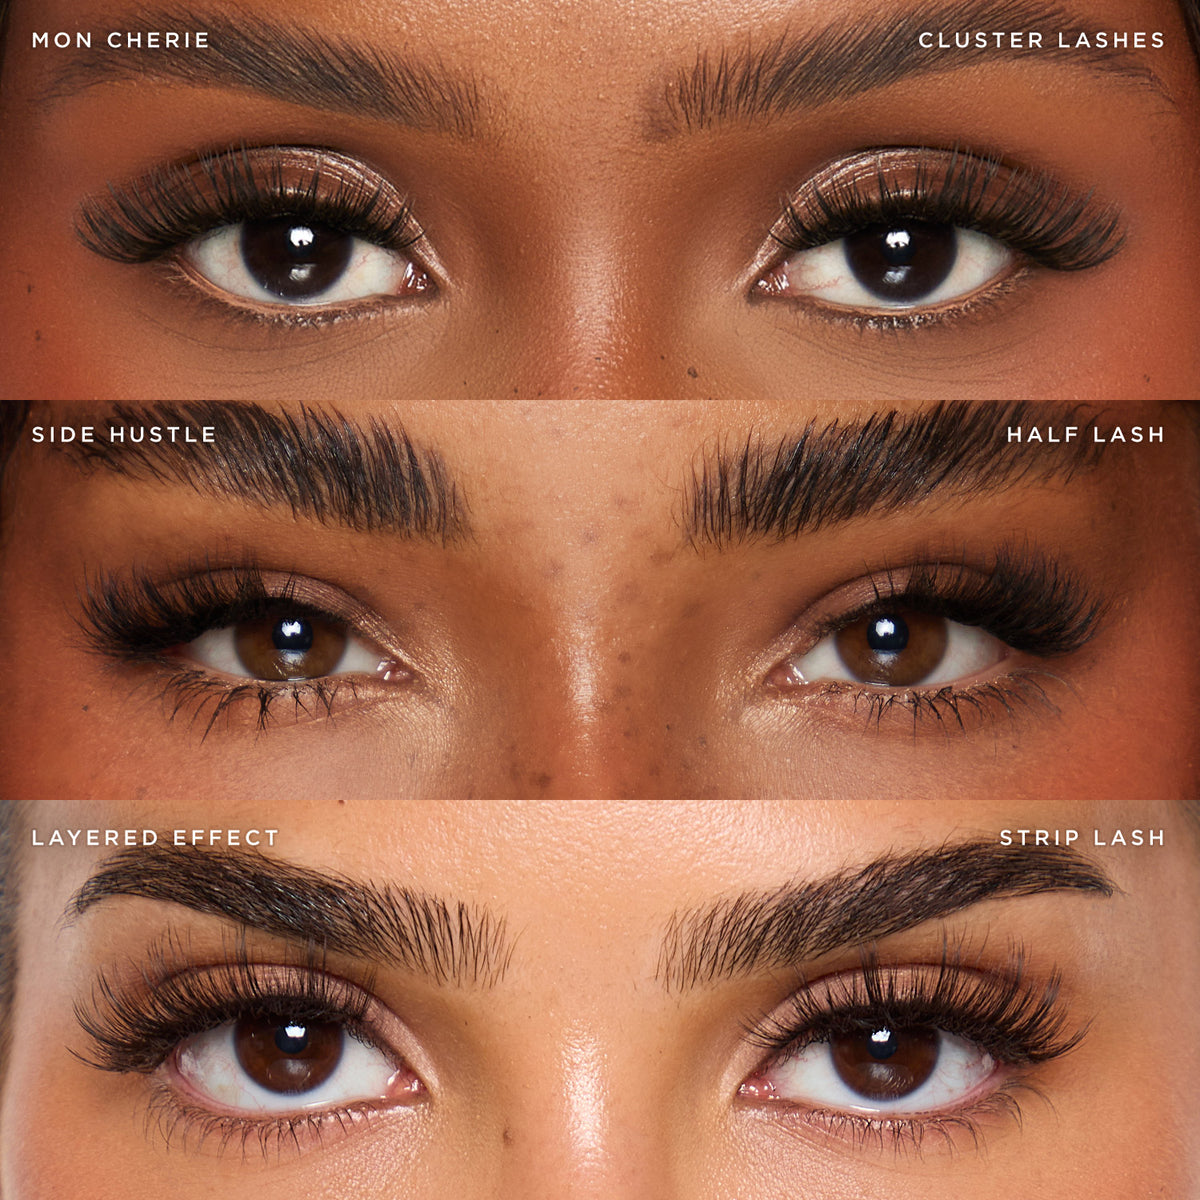
- Mon Cherie Compact Cluster Lashes
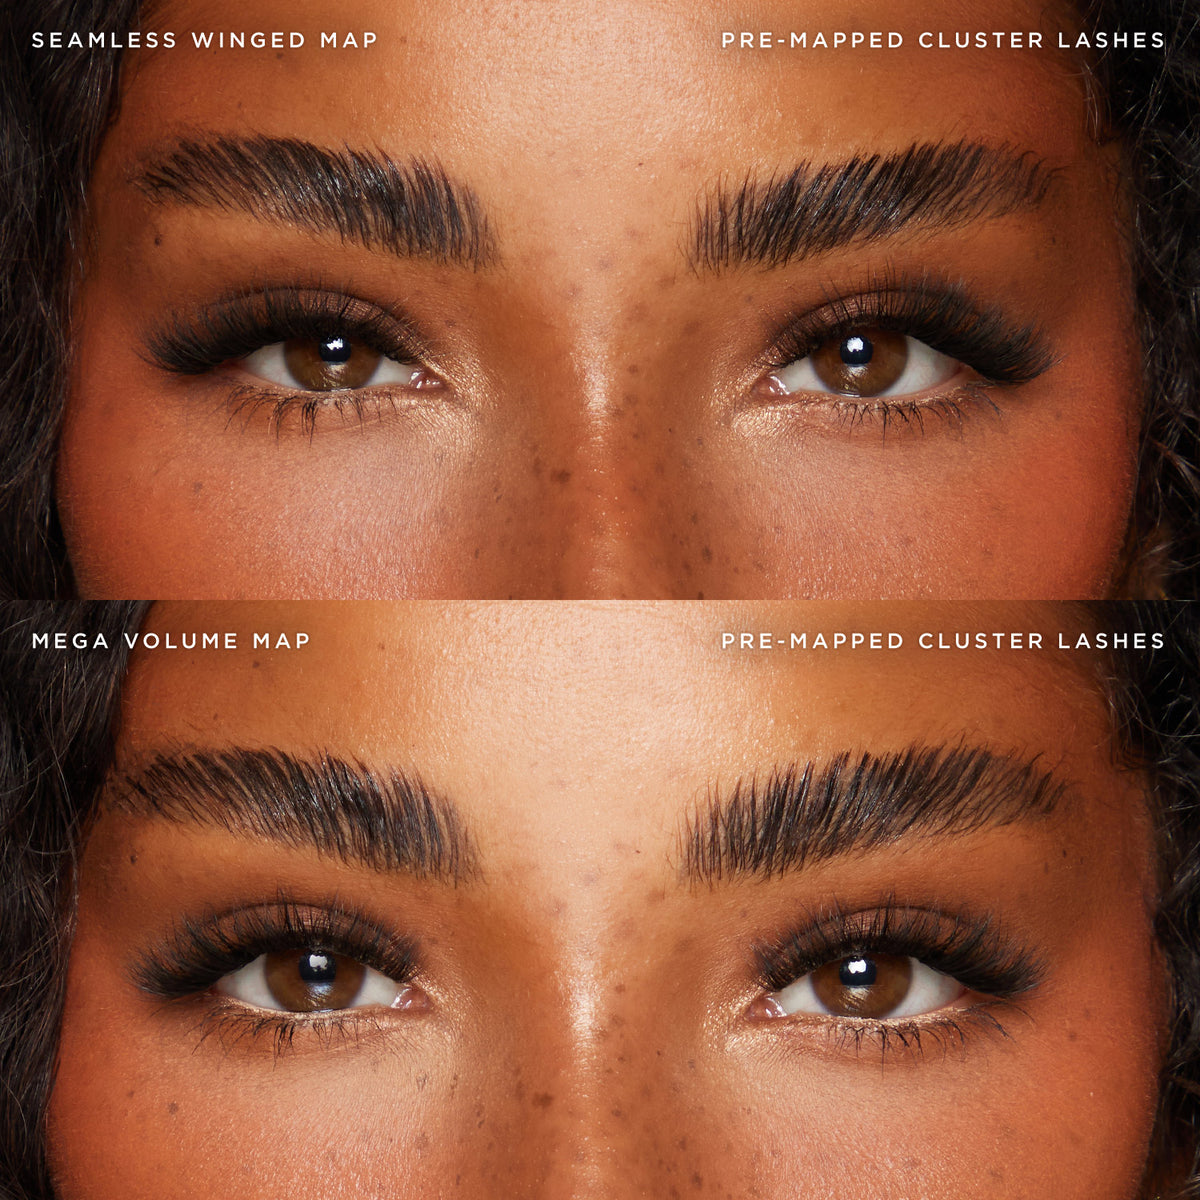
- Pre-Mapped Seamless Winged Lashes
- Pre-Mapped Mega Volume Lashes
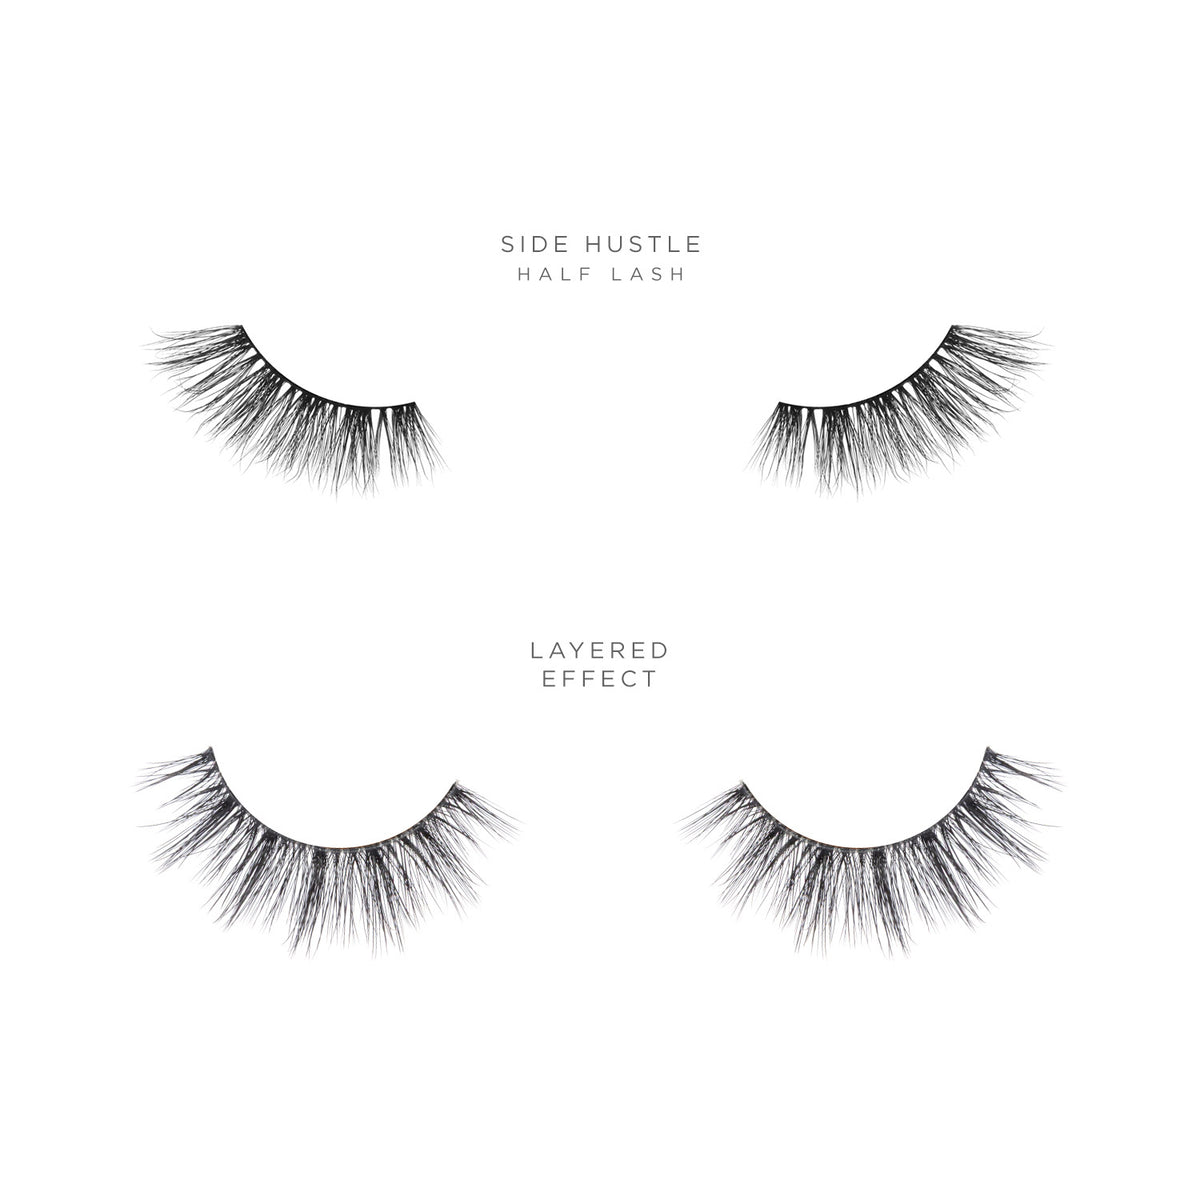
- Layered Effect Strip Lashes
- Side Hustle Half Lashes
Why You'll Love It:
- 5 must-have lash looks
- Perfect gift for lash lovers
- Create multiple lash looks from natural to dramatic
- Stylish reusable cosmetic bag included
- All lash styles are reusable for maximum value
- Save 38% off the RRP
Glue Ingredients :
Aqua (Water), Styrene/Acrylates Copolymer, PEG/PPG 8/3 Laurate, Acrylates Copolymer. Glue shelf life: 3 months once opened.
Cluster Lashes
With Regular Lash Adhesive:
1. Using your fingers or tweezers, gently loosen and peel the lash from the tray. Grip the lash as close to the base as possible.
2. Coat the base of your cluster in a small amount of glue. Wait up to 60 seconds for the glue to go tacky before applying.
3. Hover the cluster into position, then gently lower and place the lash onto your lash line. Secure with tweezers and repeat on both eyes until complete.
4. Continue to apply until you have achieved your desired look.
With Invisi-Lash Adhesive:
Before applying make sure your lashes are makeup and oil-free, and completely clean and dry. We recommend working on one eye at a time when applying Invisi-Lash.
Patch Testing : We recommend completing a patch test before using Invisi-Lash. Simply apply a small amount of Invisi-Lash Bond to a small section of outer corner lashes and wait for 24 hours. If you experience any reactions/sensitivity, please discontinue use.
1. Brush a light coat of "Bond" from the Invisi-Lash Adhesive on your natural lashes. Focus the adhesive where the base of the cluster will connect with your natural lashes. If you are going for a more dramatic cluster you may need to take the adhesive further up the lash for a stronger hold. You do not need to brush the adhesive all the way up your lash. Do not apply mascara prior to using our Invisi-Lash.
2. Once the bond is applied, wait for 30 seconds for the bond to go tacky.
Tatti Tip! We recommend working in sections, from either the outer corner of your eye or the inner corner of your eye, working across your lash line. Working in sections will give you time to apply the bond and clusters flawlessly.
Once you have completed one section, you can then apply the bond to the next section and repeat. If your lashes are going too sticky after applying the bond, you may be applying too much. We recommend just 1 coat of bond.
3. Gently loosen and peel your cluster from the tray using your fingers. We recommend loosening the cluster as close to the root as possible before removing from the tray.
4. Using your lash applicator, pick up your cluster from the end section of the lash (not the base). Place the cluster underneath your natural lashes and lift the lash cluster against the root of your natural lashes, using an up and out motion.
Make sure no adhesive is on the tweezer as this will stick to the lash cluster. If you have glue on the tweezer, make sure to clean this off in between lash applications as it can stick to the cluster and the tweezers. We love our Adhesive Wipes for this.
Tatti Tip! We recommend using a tweezer that you feel most comfortable with for the application of lash clusters. Make sure your applicator does not have glue on it for an easy application. We recommend wiping the applicator down regularly if glue build up does occur.
Once you have applied all lashes to the eye you're working on, continue to step 4.
4. Apply the 'Seal' using a dabbing motion to the upper and lower sides of your finished lashes. Do not brush or pull the wand through your lash clusters. The seal will eliminate any sticky residue and cure the adhesive bond. Only seal the lashes where you've applied the Bond, taking care to avoid the tips of the lash clusters.
Wait 5 minutes to let the cure work it's magic. Repeat this step if you feel the bond is still sticky/tacky. Be careful not to apply the cure all the way through the lash cluster as it can leave a residue and cause the clusters to go hard and clump together.
5. Once your lashes are set in place, use your Curved Invisi-Lash Applicator and firmly clamp your lashes to ensure they are secure and locked into place. Make sure you wipe down your lash applicator so there isn't any black bond on it prior to clamping.
When clamping, focus on the base of your natural lash line where the lash clusters are bonded to, as this will ensure your lashes will not lift or move, giving a long lasting finish (just like lash extensions!)
We recommend keeping your lashes away from water and steam for 24 hours after application, just like you would with lash extensions.
Strip Lashes
Align band with natural lash line, trim excess if needed.
Make sure when applying glue to lash band wait 40-50 seconds until adhesive is tacking.
Place the lash in the centre of your natural lashes, then using tweezers push the inner corner of the strip lash in place followed by the outer corner.
Press lash against natural lashes.
Order before 9pm to receive your order the following day (Monday - Thursday, UK only). Any orders placed after 7pm on Thursday will be delivered on Monday. Any orders placed after 7pm on Saturday will be processed on Monday for Tuesday delivery (as it is a next working day service).
Please see our delivery page for shipping times and prices for your region.
Tag us for a chance to be featured